
HVAC UV Light Installation: What the Job Actually Involves
October 7, 2026
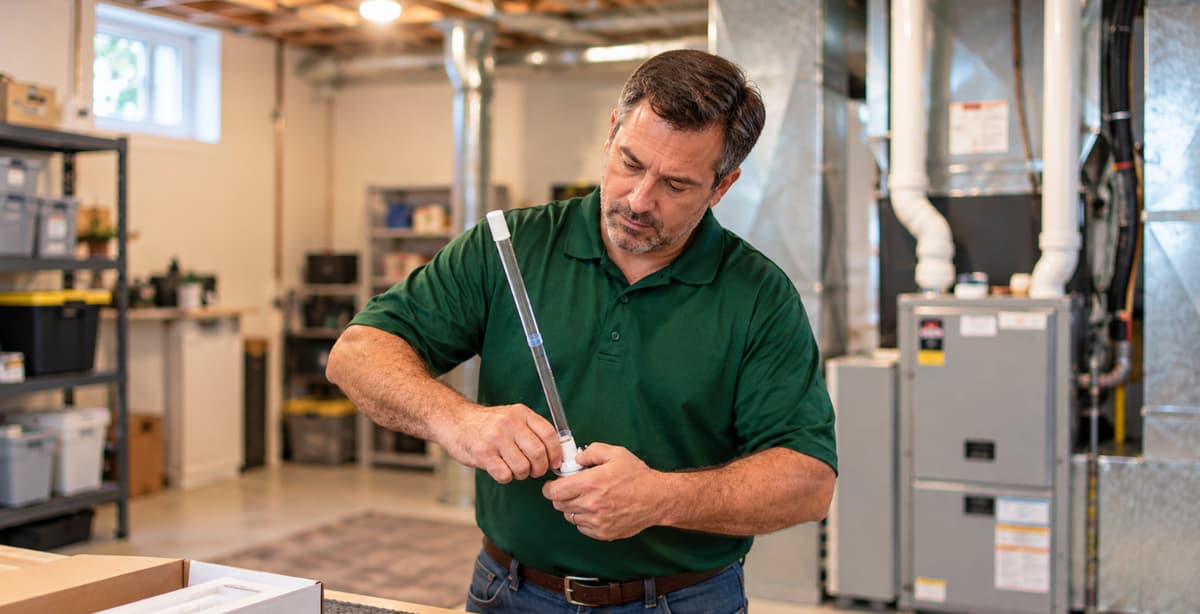
HVAC UV light installation means mounting a UV lamp near the evaporator coil or inside the supply duct, wiring it to power, and sealing the housing so no light escapes. A professional typically finishes the job in one to two hours. Because it involves electrical work, pro installation is recommended for most homeowners.
- Coil-mounted: sits inside the air handler, aimed at the coil surface.
- In-duct: sits in the supply duct, where moving air passes the light.
A UV light doesn’t replace your air filter. The two do different jobs. Take the quick quiz below to match the right filter to your system.
Find Your Filter Match
Answer a few quick questions and we’ll match you to the right filter for your system.
Already know your size? Shop air filters at Filterbuy.
HVAC UV light installation involves mounting a UV lamp assembly near the evaporator coil or inside the ductwork, wiring it to a safe power source, and sealing the housing to prevent light leakage. A technician turns off the system, selects the mounting location, cuts an opening if needed, secures the lamp, connects the electrical supply, and tests the unit before restoring normal operation. The process typically takes one to two hours.
Key Takeaways
HVAC UV lights are typically installed near the evaporator coil or inside the supply ductwork, with each placement serving a different purpose.
The installation process includes shutting down the system, choosing a mounting location, preparing the opening, securing the lamp assembly, wiring the power connection, and testing the finished setup.
Most installations require basic electrical work, which is why professional installation is recommended for most homeowners.
A UV light does not replace the need for a quality air filter. The two work together, not as substitutes for one another.
Professional installation typically takes one to two hours, depending on the system layout and mounting location.
What Does HVAC UV Light Installation Involve?
HVAC UV light installation means fitting a UV lamp assembly into your heating and cooling system so that the light can act on air or surfaces as they pass through. The lamp is housed in a protective fixture designed to prevent UV exposure to anyone servicing the system, and it draws power from either the HVAC unit's own electrical supply or a dedicated outlet, depending on the model.
What Does an HVAC UV Light Actually Do?
UV lights used in HVAC systems rely on ultraviolet-C (UV-C) light, a wavelength known for its ability to break down the genetic material of certain microorganisms. In an HVAC setting, this is typically used to target surface buildup, such as mold and mildew that can collect on the evaporator coil in humid conditions.
It's worth noting that manufacturers position these lights differently depending on their design. Some, like coil-mounted units, are built to keep coil surfaces cleaner. Others, like in-duct models, are designed to treat air as it moves through the ductwork. The specific benefits depend on the placement, lamp strength, and how long air is exposed to the light.
Where Should a UV Light Be Installed in an HVAC System?
Placement is one of the first decisions a technician makes, and it directly affects how the light performs.
Coil-Mounted vs. In-Duct UV Light Placement
Coil-mounted UV lights are installed directly above or beside the evaporator coil, inside the air handler cabinet. This placement focuses the light on the coil surface itself, where moisture and organic buildup tend to accumulate.
In-duct UV lights, on the other hand, are installed inside a section of the supply ductwork, often downstream from the air handler. This placement exposes moving air to the UV light as it travels toward the living space.
Neither placement is universally better. The right choice depends on the specific goal, the layout of the existing ductwork, and the model being installed.
Installing a UV Light Near the Evaporator Coil
When mounting near the coil, technicians need enough clearance inside the air handler cabinet to fit the lamp fixture without interfering with the coil, blower, or other components. The mounting bracket is typically affixed to the cabinet wall or a nearby structural point, positioned so the UV light faces the coil directly.
Installing an In-Duct UV Light
In-duct installations require cutting an opening into the ductwork to accommodate the lamp housing. The fixture is sealed carefully to prevent air leakage and to block UV light from escaping into the surrounding space. This placement often requires more precise measurement, since duct dimensions vary by system.
How Is an HVAC UV Light Installed? Step by Step
Step 1: Turn Off and Secure the HVAC Equipment
Before any installation work begins, the HVAC system is powered down at the breaker. This step protects the technician from electrical hazards and prevents the system from cycling on mid-installation.
Step 2: Select the Mounting Location
The technician identifies the best mounting point based on the chosen placement type, coil-mounted or in-duct, while checking for adequate clearance and accessibility for future bulb replacements.
Step 3: Measure and Prepare the Mounting Opening
For in-duct installations, this step involves measuring the duct section and cutting a precise opening for the lamp housing. For coil-mounted units, this step may simply involve marking bracket placement inside the air handler.
Step 4: Secure the Mounting Base and Install the Lamp Assembly
The mounting bracket or base is fastened securely, and the lamp assembly is attached. Technicians confirm the lamp faces the correct direction, toward the coil or into the airflow path, and that the housing is fully sealed.
Step 5: Connect the Correct Electrical Power
The UV light is wired to a power source. Some units connect directly to the HVAC system's transformer, while others require a dedicated 120-volt outlet. This step must match the manufacturer's specifications, such as those outlined for the Honeywell UV100E or Field Controls UV-Aire, to avoid electrical issues.
Step 6: Test the UV Light and Complete Safety Checks
Once wired, the technician restores power to the HVAC system and confirms the UV light activates correctly. They also check for light leakage around the housing and confirm the system operates normally with the new component in place.
What Tools and Electrical Connections Are Needed?
A typical installation requires a drill, duct-cutting tools for in-duct placements, wire strippers, electrical connectors, a voltage tester, and mounting hardware specific to the lamp model. Electrical connections vary by manufacturer. Some units tie into existing low-voltage HVAC wiring, while others need a standalone outlet, which may require a licensed electrician if one isn't already present near the installation site.
How Much Space Does an HVAC UV Lamp Need?
Space requirements depend on the lamp model and placement. Coil-mounted units need enough room inside the air handler cabinet to fit the fixture without obstructing the coil or blower assembly. In-duct units require a straight section of duct long enough to house the lamp and allow for proper sealing. Checking manufacturer specifications before installation helps confirm the equipment will fit.
Why Is Professional HVAC UV Light Installation Recommended?
Professional installation is recommended because the job involves electrical wiring, precise placement, and sealing work that affects both performance and safety. A technician familiar with your specific HVAC system layout can also identify the best placement for your equipment and verify that the installation meets manufacturer guidelines.
Can You Install an HVAC UV Light Yourself?
Some homeowners attempt DIY installation, particularly with kits designed for simpler setups. However, this generally requires comfort with electrical work and an understanding of your HVAC system's internal layout. Incorrect installation can lead to inconsistent performance or safety issues, which is why many homeowners choose to work with a licensed technician instead.
How Long Does HVAC UV Light Installation Take?
Most professional installations take between one and two hours, depending on the chosen placement, the accessibility of the mounting location, and whether existing electrical wiring can be used or new wiring needs to be run.
What Happens After an HVAC UV Light Is Installed?
Once installed, the UV light typically runs continuously alongside the HVAC system. Technicians will often walk through basic maintenance expectations, such as bulb replacement timelines, which vary by manufacturer and usage.
How Can You Tell if an HVAC UV Light Was Installed Correctly?
A correctly installed UV light should show no visible light leakage around the housing, operate without affecting normal airflow, and activate reliably when the HVAC system runs. If you notice unusual odors, visible light outside the fixture, or inconsistent operation, it's worth having a technician inspect the installation.
Do HVAC UV Lights Produce Ozone?
Some UV lamp types can produce ozone as a byproduct, depending on the wavelength and bulb design. This is why selecting an appropriate lamp type and following manufacturer specifications matters. If ozone output is a concern, ask your installer which lamp technology is being used and what byproducts, if any, it produces.
Why Do You Still Need an Air Filter After UV Light Installation?
A UV light and an air filter serve different functions. The UV light targets specific surfaces or airborne organisms as air passes through, while an air filter physically captures particles like dust, pollen, and debris. Removing or neglecting your air filter after installing a UV light leaves your system without the particle filtration it still needs. Pairing a UV light with a properly rated air filter, and checking it regularly, keeps both systems working as intended.
Should You Install a UV Light in Your HVAC System?
If you're dealing with persistent coil buildup or you're interested in adding a UV component to your existing filtration setup, a UV light may be a reasonable addition. The right choice depends on your specific system, your goals, and your willingness to maintain the equipment over time. Speaking with a licensed HVAC technician about your particular setup is the clearest way to determine whether it makes sense for your home.
Make Sure to Install Your UV Light Correctly
HVAC UV light installation is a detailed process that involves more than simply attaching a lamp to your system. From choosing the right placement to handling the electrical connections safely, each step affects how well the light performs over time. Working with a licensed professional helps ensure the installation is done correctly, and pairing it with a quality air filter keeps your whole system working as intended.
If you're exploring UV light options or need guidance on air filtration for your HVAC system, Filterbuy's resources on UV light placement and filter selection can help you decide on the right next step.
Frequently Asked Questions
Is HVAC UV light installation expensive?
Costs vary based on the lamp model, placement type, and whether new electrical wiring is needed. Getting a quote from a local HVAC provider is the most reliable way to understand pricing for your specific system.
How long does a UV light installation take to complete?
Most professional installations take one to two hours, though more complex ductwork or electrical setups may take longer.
What are the risks of installing a UV light incorrectly?
Incorrect installation can lead to light leakage, inconsistent performance, or electrical issues. This is why professional installation is generally recommended.
Are there alternatives to UV lights for HVAC systems?
Yes. Many homeowners rely solely on high-quality air filters to manage airborne particles, while others combine filtration with additional purification equipment depending on their specific concerns.
Who should consider installing a UV light in their HVAC system?
Homeowners dealing with persistent coil buildup, or those looking to add an additional layer to their existing filtration setup, may want to discuss UV light options with a licensed technician.